Text Box in word is used quite a lot in office informatics works. In addition, it is also one of many useful features that people are using more widely in their documents. Its main use is to create text, create text boxes to insert into document, images, and so on.
So in today’s article I will guide you on how to use Text Box in Word in the most detailed and easy to understand way. If you are interested, please keep an eye out …
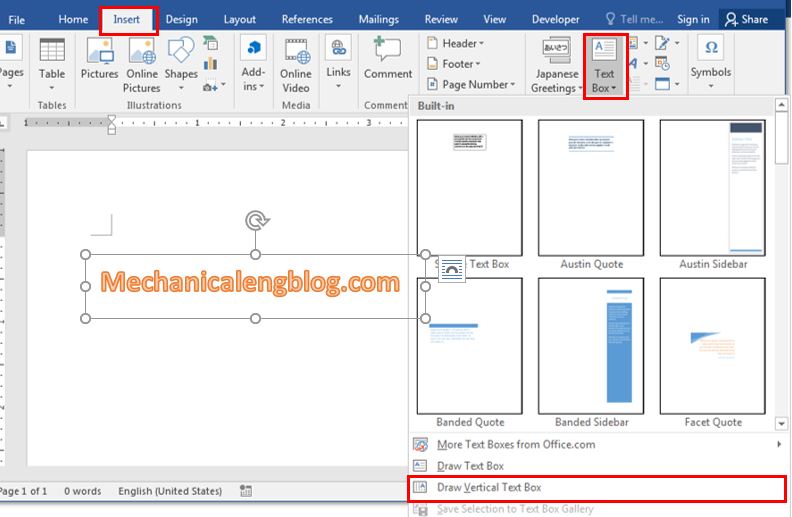
I. How to insert text box in word?
Step 1: Go to Insert. Drag the cursor to Text tools group to select Text Box.
Below are available Text Box templates for you to choose. If you want to design by yourself, choose Draw Text Box.
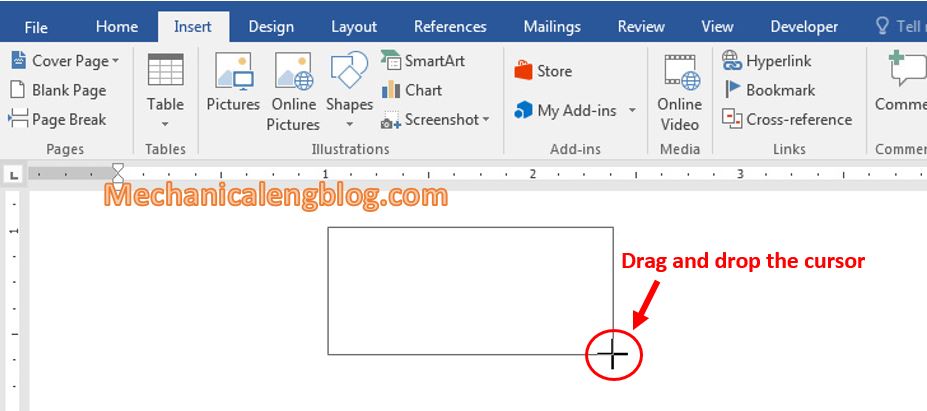
Step 2: The cursor turns into a black plus sign, drag and drop it to the size you want then release the cursor.
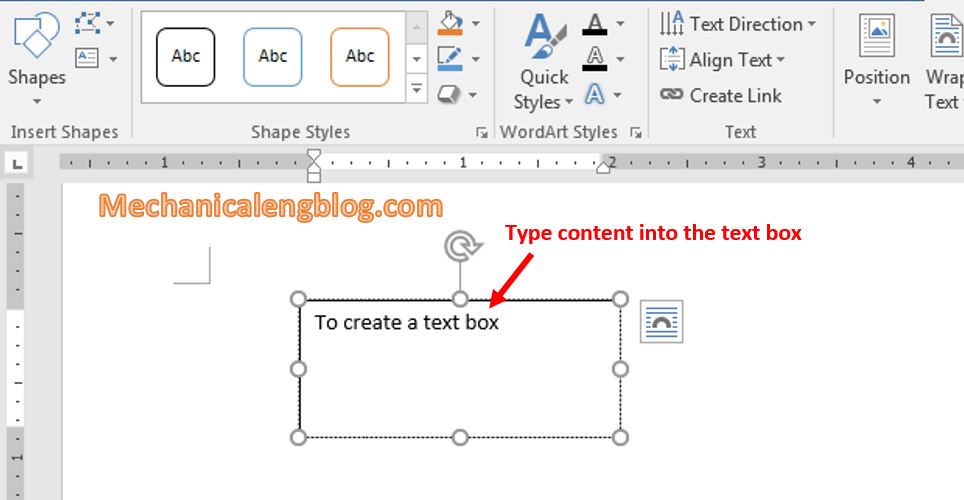
Step 3: The Text Box after inserting. At this point you can type content into this box.
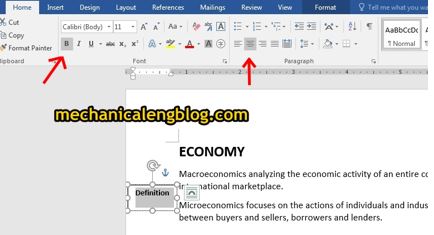
Note: You can change the font, color, and size by selecting the text then use the commands on the Format tab and Home tab.
To exit the text box mode, click anywhere outside the box.
II. Change Text Box size.
Step 1: Click at the text box, you can see little circle dots on the box lines.
Step 2: Click on any circle, hold and drag the cursor in and out according to the size needed, then release the cursor and you’re done.

III. Move text box.
Step 1: Select the Text Box you want to move then drag the cursor to any edge of the box and you will see a 4-dimensional arrow as shown below.

Step 2: Hold the cursor and drag to the position you want then release.
IV. Change the text box color in Word
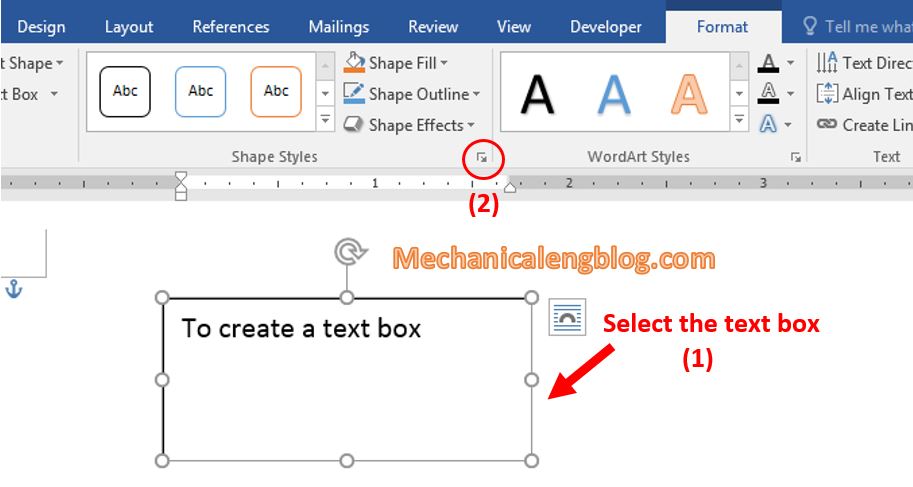
Step 1: Select the text box to applied color.
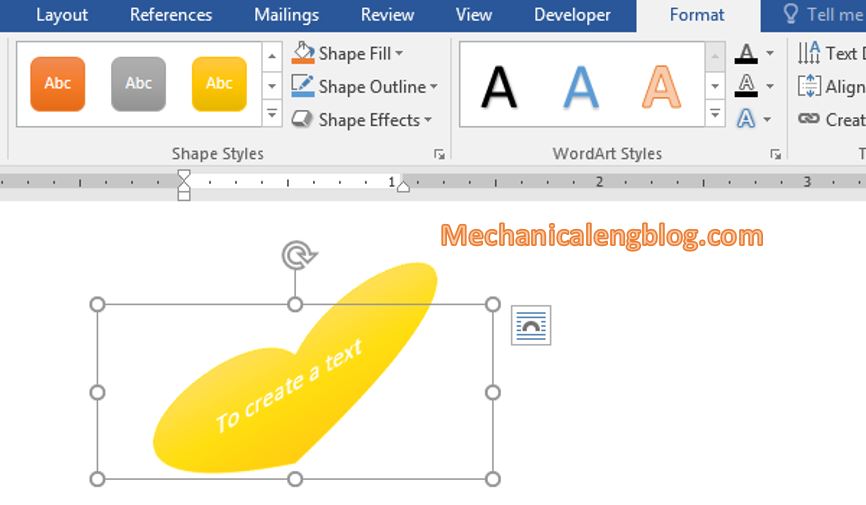
Step 2: Select Format (or in Step 1 you can double-click at the Text Box). Click the drop-down arrow in the Shape Styles section as shown below.
Step 3: Choose the style you want.
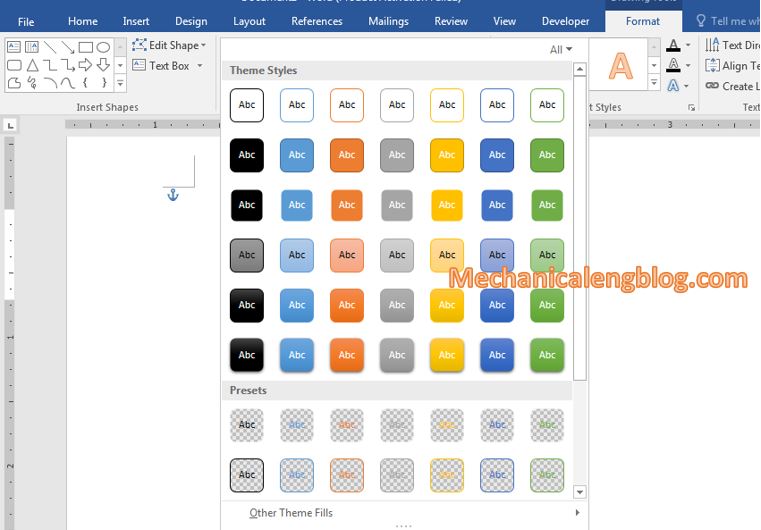
Step 4: The Text box will be displayed as the chosen style.

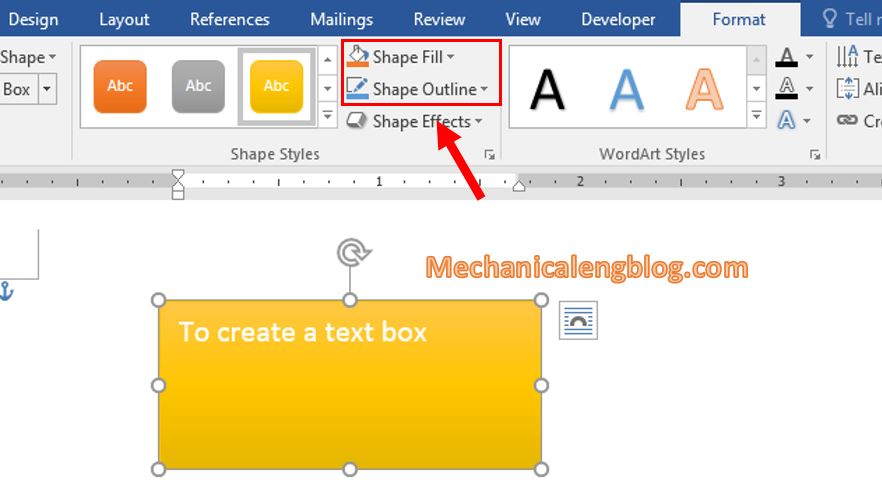
Formatting options like Shape Fill or Shape Outline can also be used to format the text box.
V. Change the shape of the Text Box.
Step 1: Double-click on the border of the Text Box you want to change, the Format tab will appear. Click on Edit Shape, select Change Shape.
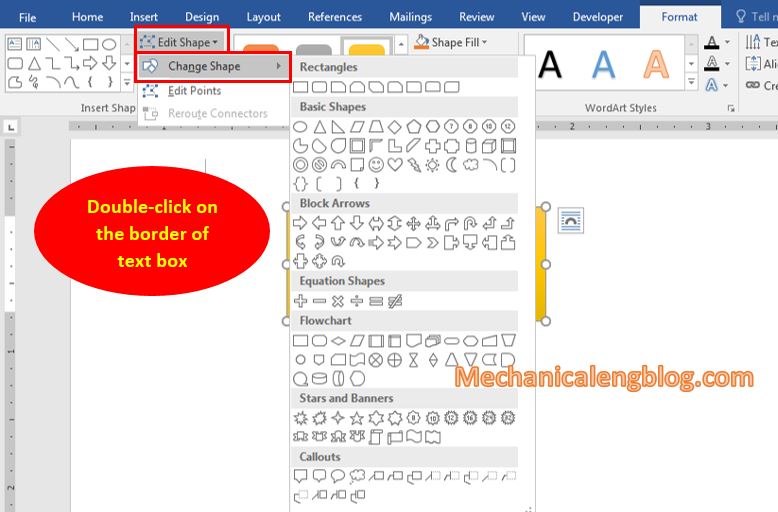
Step 2: At this point you can see a lot of shapes, choose the image you want to change.
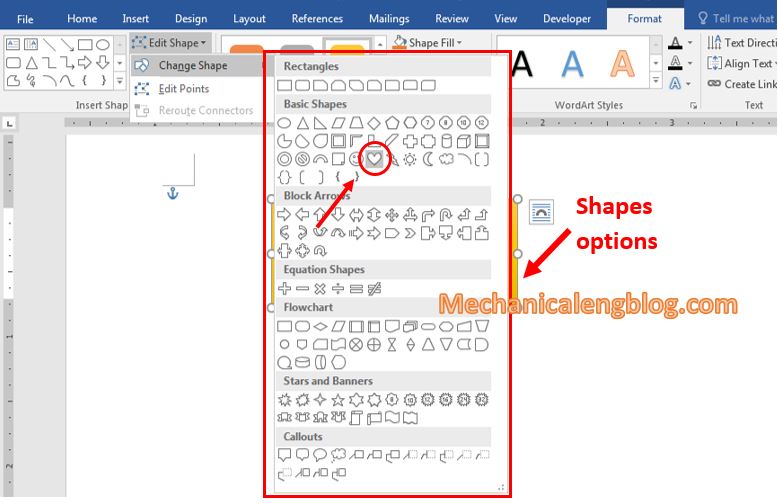
The result will be the old shape being replace by the chosen one.
VI. Add an effect to the Text Box
Step 1: Double-click on the border of the Text Box to quickly move to Format tab.
Step 2: Click the drop-down arrow in the Shape Effects section. There are items such as Shadown, Glow, Bevel …
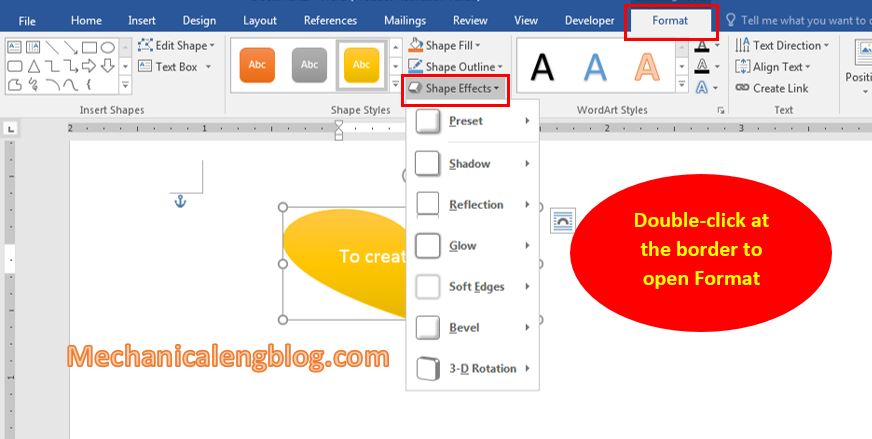
Step 3: Select an effect you want to add effects.
CONCLUSION
So that is the detailed instructions on how to insert a Text Box into Word, as well as the operation of the Text Box on how to resize, move, change shape,…
Hopefully this article gives the answers to your questions and be helpful to your work. Wish you all success and don’t forget to keep following this blog for more interesting tips. Thank you and good luck.
-hhchi


Leave a Reply