Today we will come to another new PowerPoint utility, which is 3D modeling. The way you can insert 3D model in PowerPoint and use 3D models is similar to SmartArt or Chart that we often approach. And I would also like to say that the 3D model is only available for the 2019 or Office 365 version, if you want to use it, please consider upgrading your Office version.
And now let’s get to work!
I. Insert 3D model in PowerPoint
Step 1: Open PowerPoint and go to Insert. In the Illustrations group, select 3D model. You will have two options whether to insert from your PC or browse the model online.
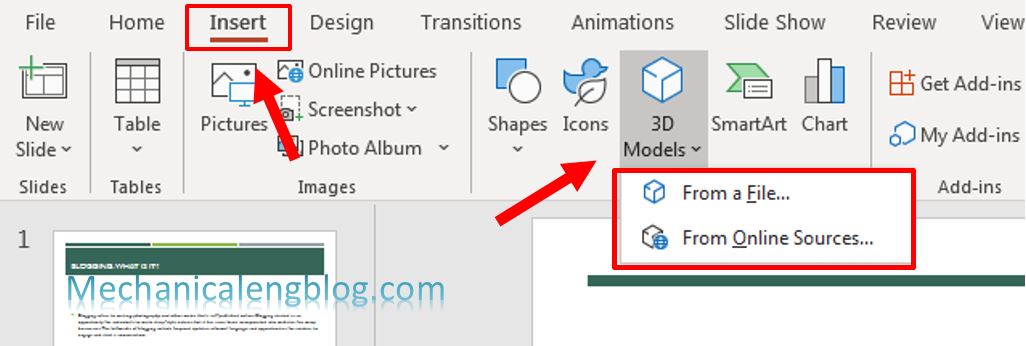
Step 2: If you have a 3D model in one of your files, find to where you store it then insert like when you do with picture or video.
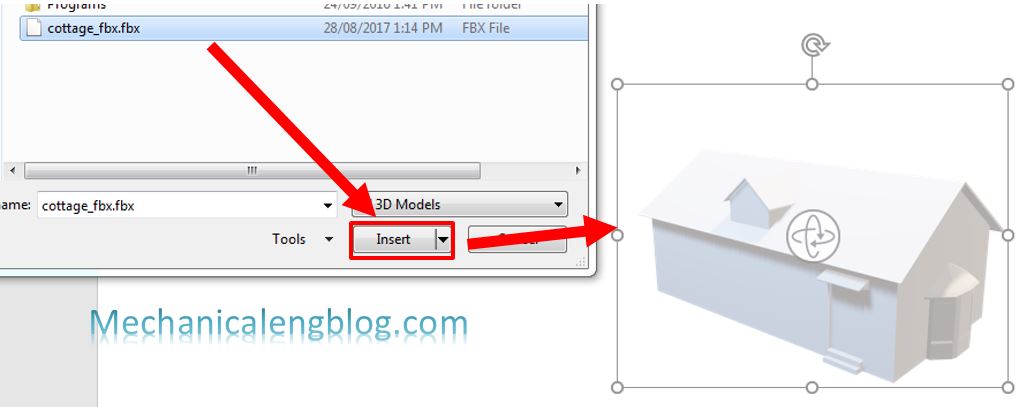
PowerPoint currently supports many different formats such as *.fbx, *.obj, *.3mf, *.ply, *.stl, etc. But the most common format is *.glb.
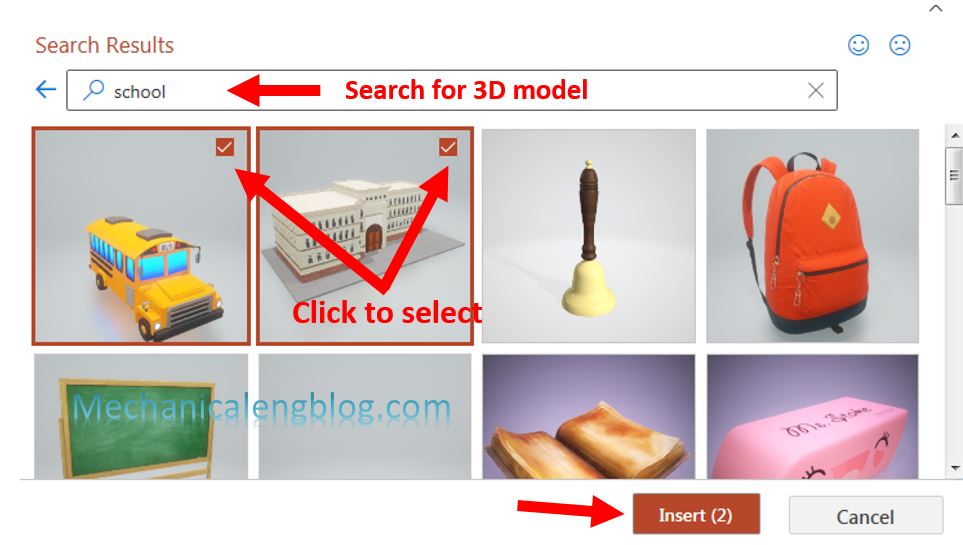
If you choose to browse for a model online, type in the Search box the category in your mind, then all 3D model related will appear. Select one and click on Insert. You can insert more than one model at once.
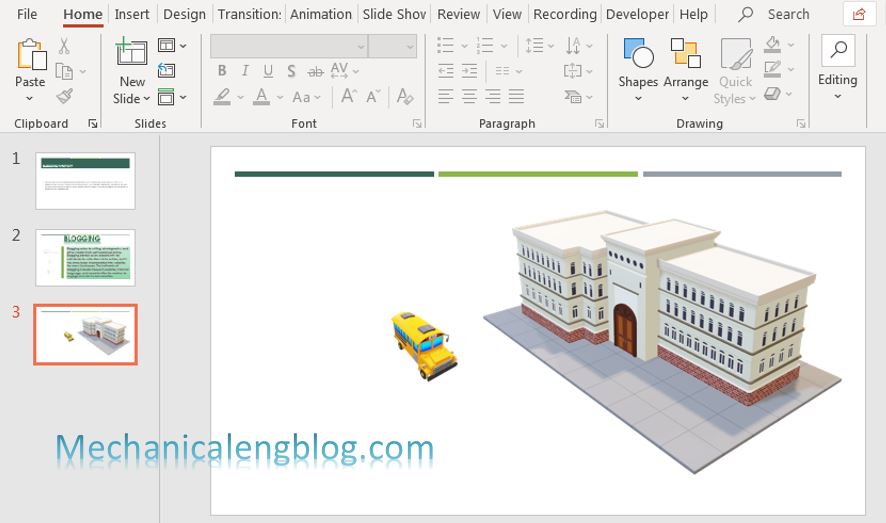
And this is the result. Quite fun after all. Online sources will bring more results, so I recommend looking for 3D models online.
II. Customize viewing angle for 3D model.
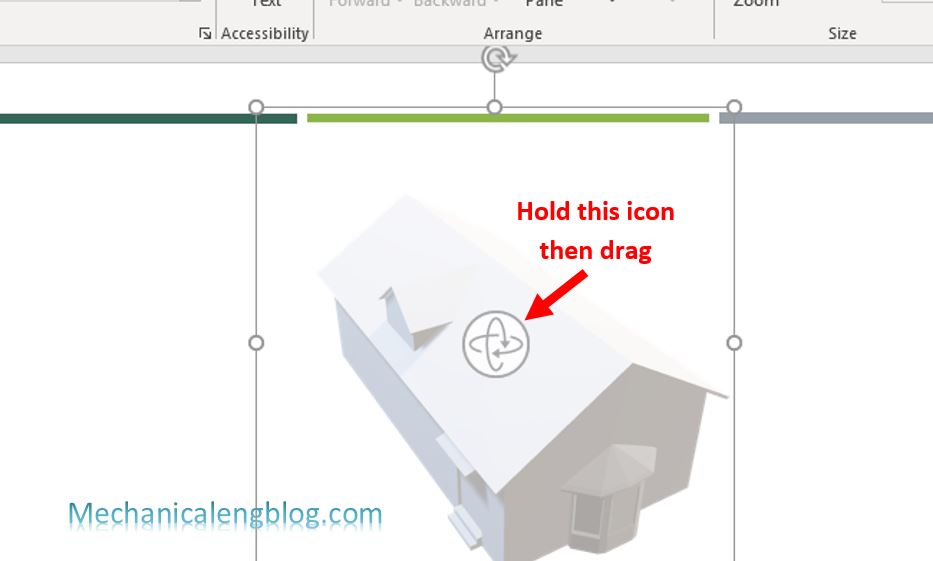
When you insert a 3D model, you’ll see an icon in the center of the image, showing that you can customize the view of the model. There are 2 ways as follows:
Step 1: Double-click the model. You will be moved to tab Format.
Step 2: Look at the 3D Model Views section. Click on the expand arrow to see more angle options. Choose a view you want.

Another way is to select the model and hold the cursor at the icon at the middle of that model. Drag the cursor right or left, up or down to manually change the viewing angle.
III. Insert 3D model in PowerPoint _ Special Effects
Do you know, not only having the same effects as regular objects, but 3D model also has 5 more special effects for its own.

You can try on the animations to see how it works.
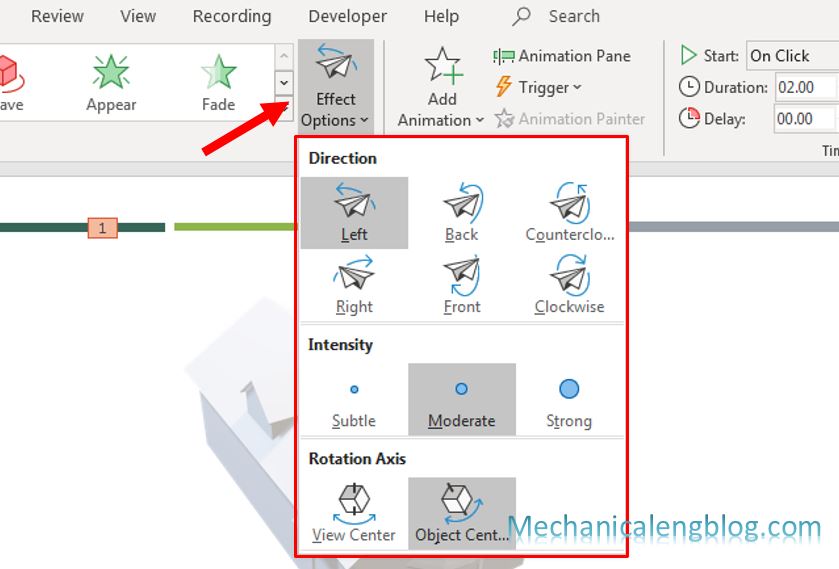
For the Effect Options, you can adjust the Direction of the moving effect, the Intensity or Rotation Axis options. For more details, you can try each effect by yourself.
CONCLUSION
Well, I have just showed you how to insert and format 3D models in PowerPoint. In order to make full use of it, aside from choosing the right model for the presentation, you also need to organize and customize the effect accordingly. However, we should not abuse inserting too many models into one presentation, since it might cause the computers with a weak system to hang on or increase the file size.
Please consider using these tools wisely. Thank you for reading the article, see you soon!
-hhchi



Leave a Reply