This tutorial will introduce you about siemens nx drafting add a view. You can add a base view, add projected view, delete and edit a view.
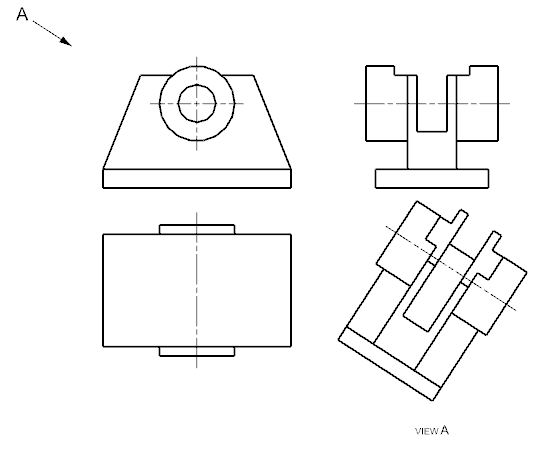
I. Nx drafting add view: base view
The first view you add to a drawing sheet is called a base view. Base view use to create a model based view on the drawing sheet.
Where do I find it?
From the menu (Top border bar): insert -> view -> base.
From the home tab: View group -> Base view.
How to create a base view?
1. Click base view icon on the home tab.
2. Select specify location to add base view.
3. In the base view dialog, view origin group, select placement method that you want.
4. In the model view, select model view to use that you want.
5. Select scale of base view.
II. Nx drafting add view: projected views.
Projected view are based on the rules of orthographic projection. It creates a projected orthographic or auxiliary view from any parent drawing view. After you add a base view to your drawing sheet, you can have the projected view dialog bar automatically open. You can move new projected view to any where in your drawing sheet.
How to open projected view function?
From the menu (Top border bar): Insert -> view -> projected.
From the home tab: View group -> projected view.
Right-click a view border and select add projected view.
In the part navigator, right-click a view node and select add projected view.
III. How to delete views from a drawing sheet?
+ On the drawing sheet, right-click a view border bar then select delete.
+ Select view that you want deleting, and from the menu: Edit -> delete.
+ From the part navigator, right-click the view to be deleted then select delete.
IV. How to edit a view?
After a view has been placed on a drawing sheet, you can edit display preferences.
To edit it, you can following:
+ Simply, double-click the border of the view. the setting dialog will appear then you can modify it.
V. How to hide border of a view?
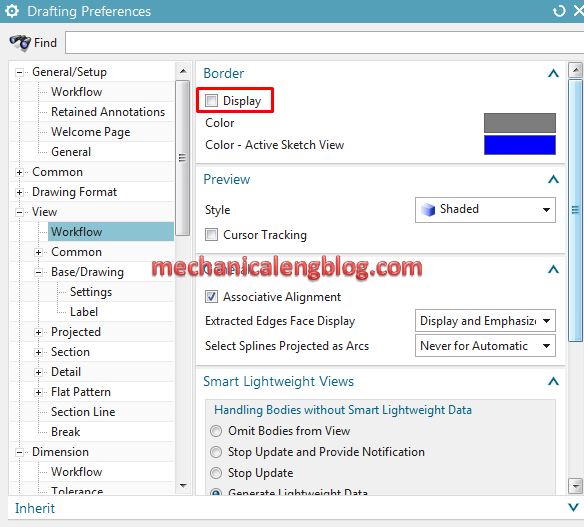
+ From the menu -> preferences -> drafting -> view -> workflow. In the border table, uncheck the display option and clicks OK to finish.
See this video below for more detail.

Leave a Reply