inventor sweep command use to sweep one or more sketch profiles along a selected path to create a feature or body. If you sweep multiple profiles, they must exist in the same sketch. The path is an open or closed loop, but must pierce the profile plane
Where do I find it?
From ribbon bar: 3D model -> create -> sweep
![]()
How to use inventor sweep command?

1. The first, create a section and guide.
2. Click sweep command icon in the ribbon bar. The revolve dialog will appear. In the top of dialog, you can select feature type as body or surface.
3. In the specify input geometry, select profiles and path that you want to use. The path is curve or edge.
4. In the specify behavior parameters, choose an orientation:
Follow path: Holds the swept profile constant to the sweep path. All sweep sections maintain the original profile relationship to the path.
Fixed: Holds the swept profile parallel to the original profile. You can choose taper and twist of sweeping
Guide: You must to select the guide for sweeping. It can be rail or surface.
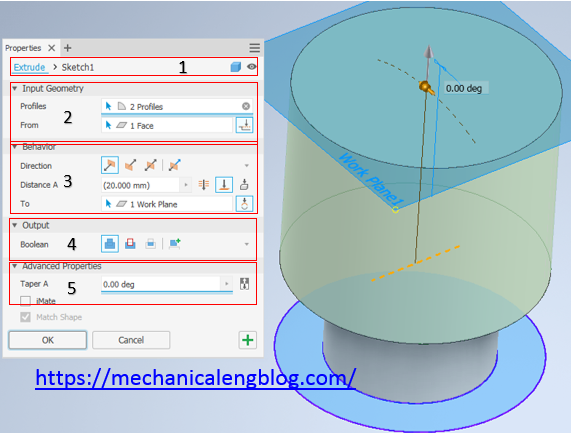
5. Specify an Output operation: there are 4 types that you can select.
+ Join: Combine new feature or body that you will create to another feature or body.
+ Cut: Removes the volume created by the extruded feature from another feature or body.
+ Intersect: Creates a feature from the shared volume of the extruded feature and another feature. Deletes material that is not included in the shared volume.
+ New Solid: Creates a solid body.
6. Click OK to finish this sketch.
I. Inventor Sweep command: Sweep a profile along a path.

This is simple function of sweep command. Click the sweep command icon and select feature type as body or surface
In the graphics window, select profile, path of sweeping.
In the specify behavior parameters, select follow path or fixed option.
Click OK to the finished this command.
II. Sweep a Profile along a Path and Guide Rail.

To use it you have to profile, path and guide rail.
Click the sweep command icon and select feature type as body or surface
In the graphics window, select profile, path of sweeping.
In the specify behavior parameters, select guide option. Select guide rail in the graphics window.
There are three profile scaling. Select the type you want.
+ X & Y. Scales the profile in both the X and Y directions as the sweep progresses.
+ X. Scales the profile in the X direction as the sweep progresses.
+ None. Keeps the profile at a constant shape and size as the sweep progresses. Using this option, the rail controls only profile twist.
Click OK to the finished this command.
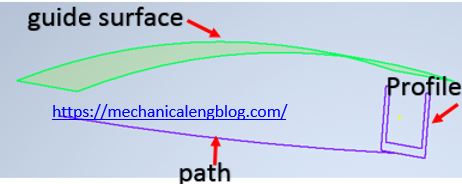
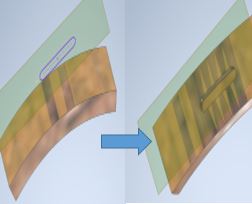
III. Sweep a profile along a path and guide surface.

To use it you have to profile, path and guide surface.
Click the sweep command icon and select feature type as body or surface
In the graphics window, select profile, path of sweeping.
In the specify behavior parameters, select guide option. Select guide surface in the graphics window.
Click OK to the finished this command.


Leave a Reply