We may have heard of many computer screen capture software, or already know about the use of the Print-screen key on the keyboard, they are not only useful but also professional tools. But did you know that in a familiar application we often use like Word also has this screen capture function? Furthermore, you can freely edit or align the image without the need of any installation of any other software. So, let’s learn how to take screenshot in Word document 2010, 2016, 2019?
How to take screenshot in word document?
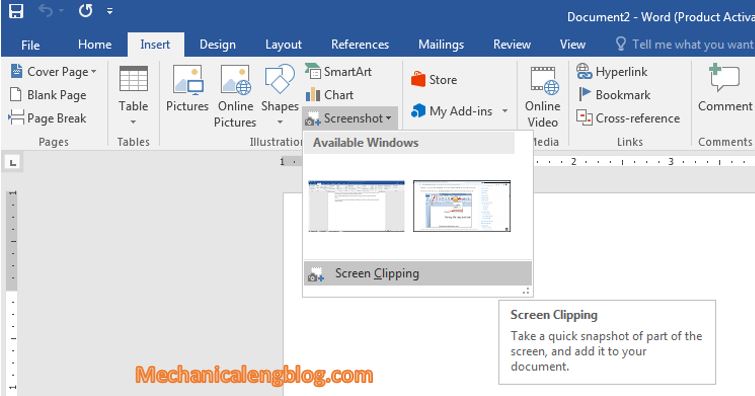
Step 1: Open MS Word application (from version 10 or more), go to tab Insert, choose Screenshot feature.
You can select where to capture by selecting Screen Clipping or screenshot a whole window by selecting Available Window.
Step 2: You can edit the image by right-clink to it to increase or decrease the image size. By default, its unit is centimetres, or choose to Crop the image or change Style…Depends on your need.

Step 3: Next, in the Menu bar, move to tab Format, select the tools in Adjust to customize the image effects.
You will have some pretty good image editing tools such as corrections, color, effects, border,…all display in the ribbon.
Then click on Picture Styles to align and create border effects, frames for images…. Here I will try to change the image’s frame.

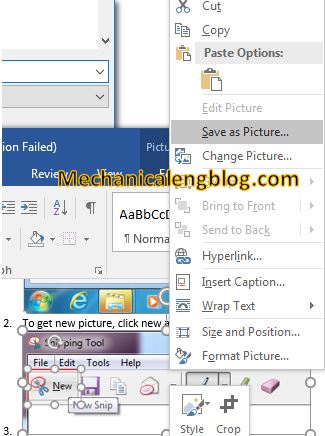
Step 4: After you have captured and edited the image, to save right-click on that image => select Save as Picture … as shown below.

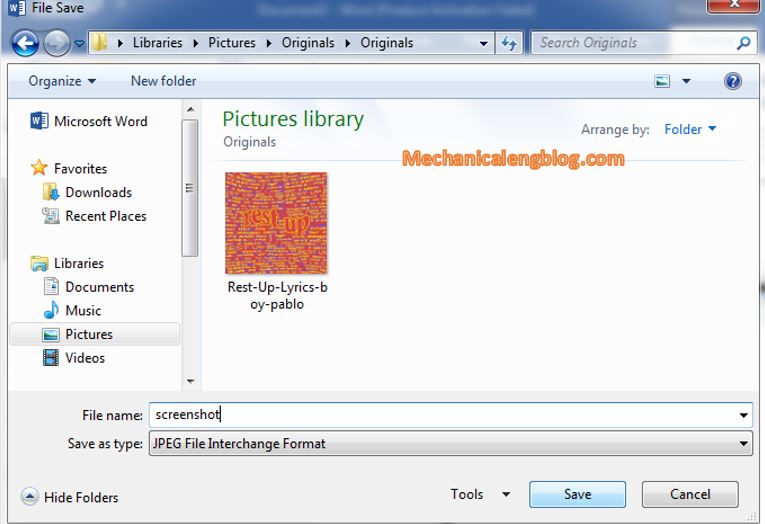
Step 5: Finally just choose where you want to save the image.
Enter the name of the photo, choose format JPEG, PNG….then click on Save to finish saving the image to your computer.
And that’s it. Very easy and it is no different from using software to take screenshots.
CONCLUSION
So I have just instructed you in detail how to take screenshots of your computer with Word. Moreover, you can also add effects, crop images, or rotate images…
Generally speaking, this is quite a useful feature when the computer does not have any software for taking screenshots on the computer. If you often have to take screenshots of the Desktop screen to write instructions, share pictures of instructions on forums, fan pages, it is better to still use screen capture software.
Hopefully this article will be useful for you. Good luck.
——————————————————–
Author -hhchi


Leave a Reply