There are many reason why you must set a password for your word document, such as sharing computer with many people, important data files, or you have a private document and you just don’t want anyone to open it.
For those who work in the office, setting a password is probably very familiar and necessary. So what about the newbies, today I will guide you how to set a password for a Word document.
Usually there will be 2 types of password you must set when creating a password for a file.
Firstly: Password to see the content inside.
Secondly: Password to edit/change the content inside.
How to set password for a Word document?
+ 1st : Open the file which you want to create a password.
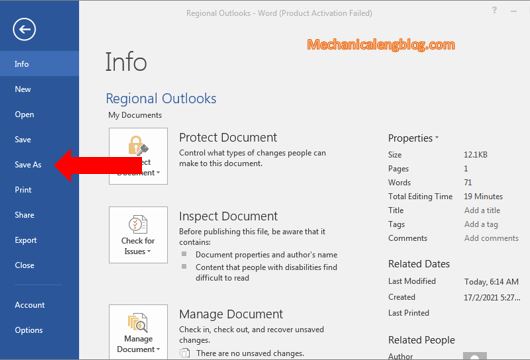
+ 2nd: In the Menu tab, go to File and choose Save As (or you can just use F12 – available for every versions).

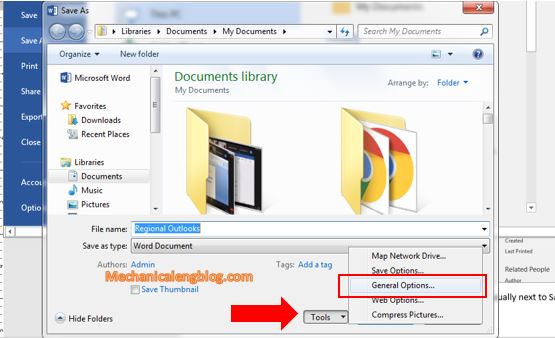
+ 3rd: A Save As window appears, look for the Tools button (usually next to Save button), click on it and choose General Options.

+ 4th: A new window pops-up, right now you can type in your password.

It’s okay to set two identical passwords as well, you can remember it easier.
+ 5th : After pressing OK, a small window appears for you to confirm your password. You must re-enter exactly both password to confirm. Then OK to save.

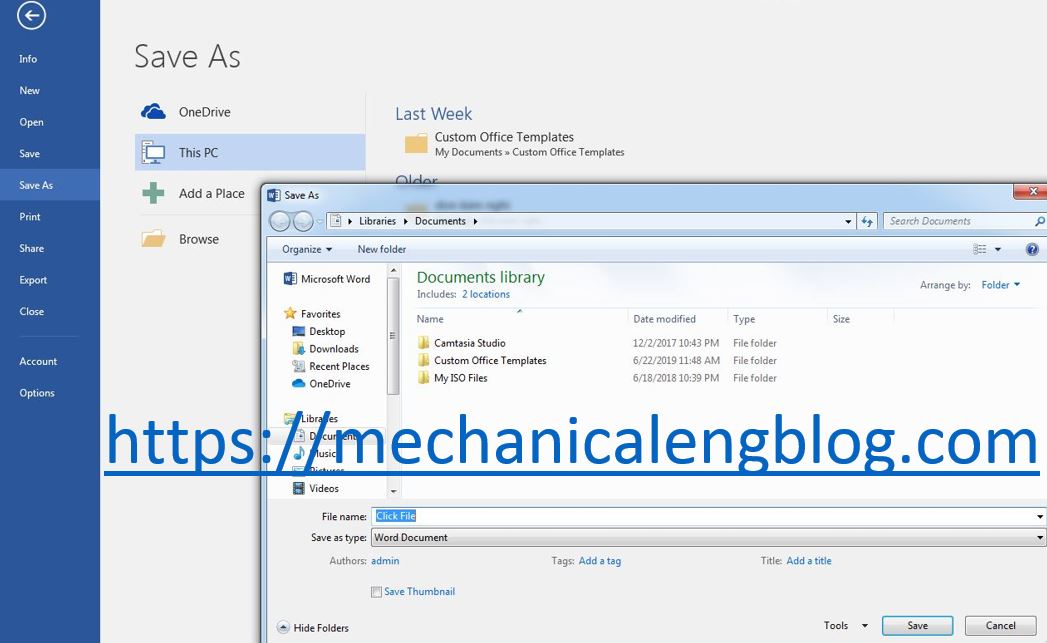
+ 6th: Next, a window appears prompting you to save the word file that the password has just been set. You can overwrite the original file or rename it differently, finally choose where to save this Word file. Then click Save.

That’s it. You have successfully set a password for your Word document.
Now if you want to delete the password, do the same as when you set it, then delete the password in those two lines and click Save to save.
CONCLUSION
Above is a little tip to increase the security for your files that I think is really important to know. You can create a long and quite a difficult password for a better secure.
That’s all for today, hope this can help with your work and good luck.


Leave a Reply