Sometimes, you have wanted to get pictures from word document, but you are beginner and don’t know how to get it. Don’t worry, follow these steps and I hope, you can do it.
A. How to save one image from word file?
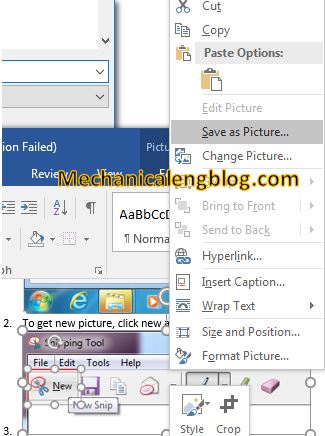
I. Get pictures by using Snipping tool of window.
1. Select start(Or press Windows + R) and type Snipping tool and select it in the search results.

2. To get new picture, click new and use your mouse to select area that you want to capture.

3. Use the save snip to save your picture
II. Use save as pictures of word.
1. Right click on pictures you want to save and select save as picture option.

2. Choose the location and name of your picture and click save to get new picture.
B. How to get all pictures from word document?
III. Save as web page.
1. Open your word document.
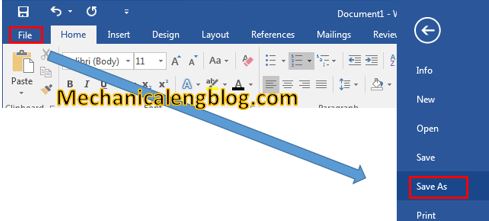
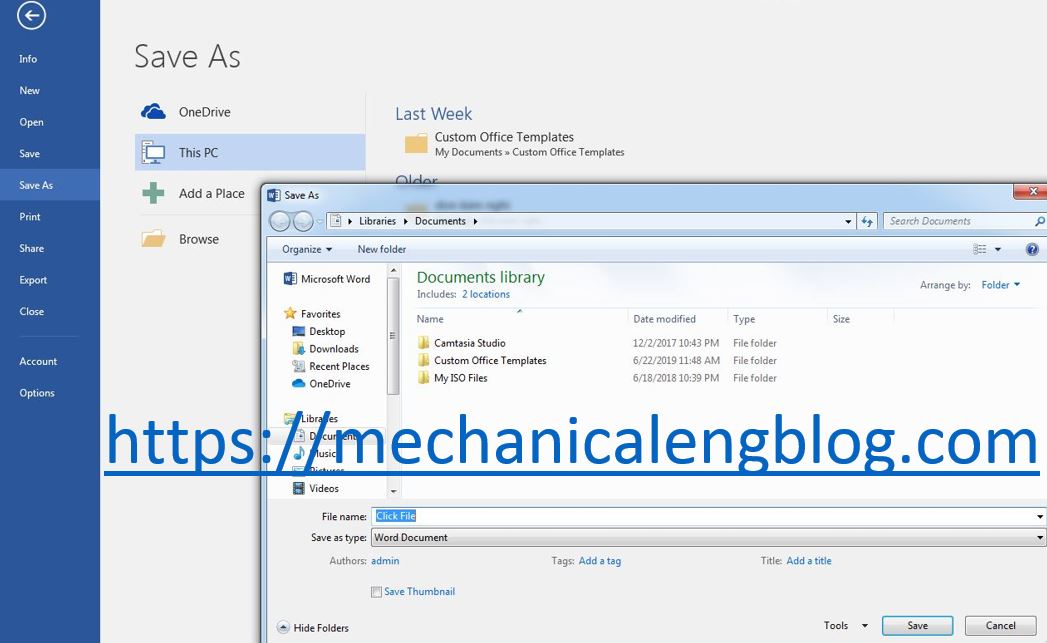
2. Click file and select save as option.

3. Select a location for this document, in the save as type list, we will select web page option.

4. Open the location file and find the file holder with the document name. Double click to open it, you can see all pictures of your document at here.
5. Get these images you want.
IV. Change File Extension Name from “.docx” to “.zip”
The first, you have to uncheck hide extensions for known file types.

If you don’t know how to do it, follow these steps below:
+ Click computer on desktop.
+ Select organize and click folder and search options.
+ In the folder options dialog, click view and uncheck “Hide extensions for known file types” box and click OK.
Follow these steps below to extract all images from word document.
1. Right click your document and select rename and change “.docx” to “.zip” and press enter button.
2. A warning message will appear, click yes.
3. Now, you have a zip file. You will extract this file. At the extracting folder, select word folder -> media. All picture will save at here.


Leave a Reply