Images, which is indispensable in articles, newspapers or magazines, takes a very important role in making the article more attractive and more professional. Also, images help readers avoid being bored and afraid to read.
You don’t have to be a journalist to write a beautiful article. Here in today’s post I’m gonna show you how to add images in Word and add caption for a picture you like.
1. Insert images in Word.
Step 1: First, go to tab Insert, select the icon Picture.

A window will pop-up and you can easily go to the file where you keep the image, select it, then click Insert to insert image.
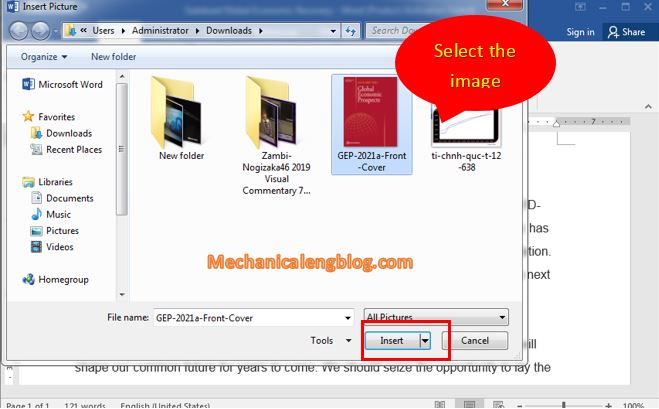
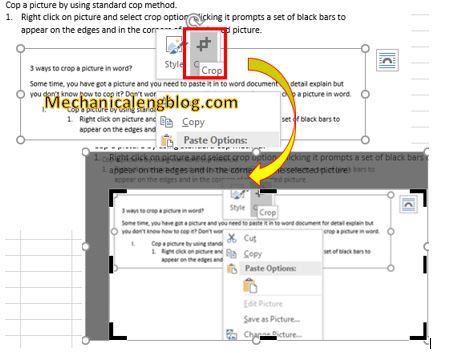
After inserting picture, it will look like this. You can crop, edit color, rotate picture, etc…whatever you like.
If you want to resize the image, move the mouse pointer to where these arrow point, shown in the picture below, then drag in or out to the size you want.

Another way is to right-click on the image then choose Side and Position.

2. Add a caption for a picture in word?
+ 1st: First, click on the image you want to write caption of, in Style, remember to choose Heading 1.
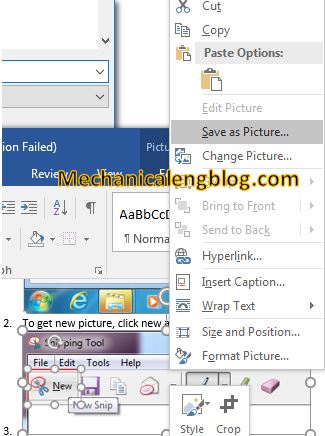
+ 2nd: Right-click on the image, choose Insert Caption to continue.
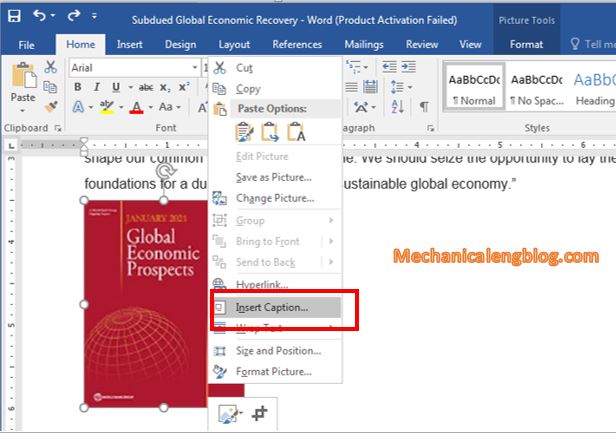
+ 3rd: A Caption window appears, click New Label, enter the name you want to use as a caption, then click OK to complete.

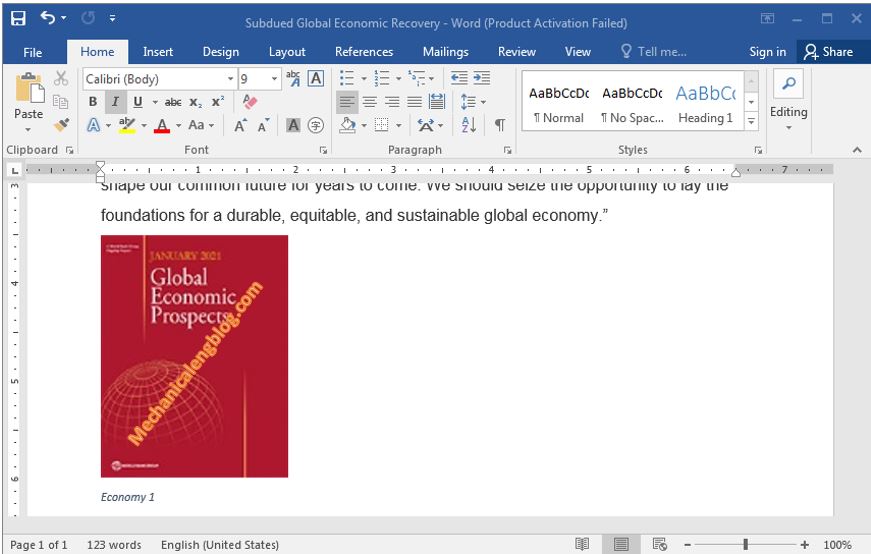
The image will be display with a caption as shown below.
CONCLUSION
Above is the simplest way to insert pictures and create captions in Word. With images as illustration, your post will become more captivating, so hopefully this article will be useful for you and good luck.


Leave a Reply