In this post I will guide how to design compress spring in Autodesk inventor by coil command. We will create it by 3 times using coil command.
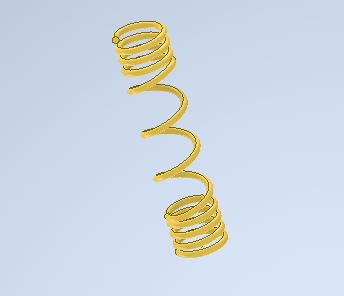
How to design compression spring in Autodesk inventor?
From XZ plan, we will draw a sketch as below.

Use coil command to create leg of spring. In the coil size tab, select pitch and revolution in type list. Input pitch and revolution value that you need. For this tutorial, I will set pitch is 5mm, revolution is 3.
In the coil end, select flat option at start and end. Set 90 deg at transition angle and flat angle.
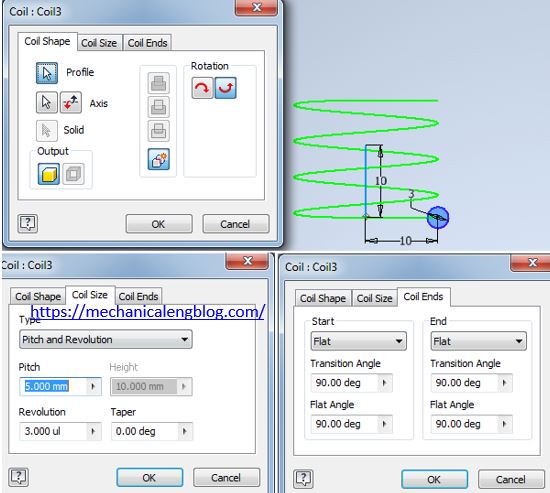
From XZ plane, create 2nd sketch as below. Use project geometry to create new curve.
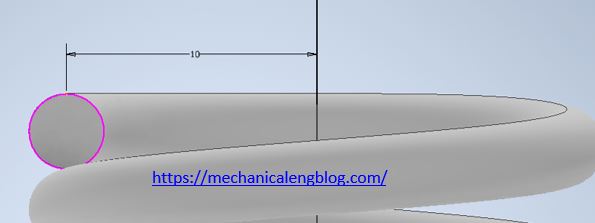
Use coil command with 2nd sketch to create body of spring. In the coil size tab, select pitch and revolution in type list. Input pitch and revolution value that you need. For this tutorial, I will set pitch is 20 mm, revolution is 3.
In the coil end, select flat option at start and end. Set 90 deg at transition angle and 0 deg flat angle.

From XZ plane, create 3rd sketch as below. Use project geometry to create new curve.
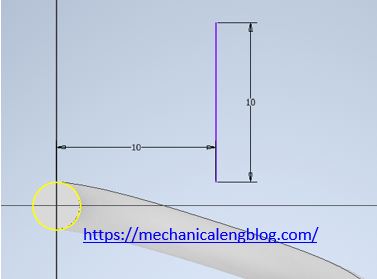
Use coil command with 3rd sketch to create body of spring. In the coil size tab, select pitch and revolution in type list. Input pitch and revolution value that you need. For this tutorial, I will set pitch is 5mm, revolution is 3.
In the coil end tab, select flat option at start and end. Set 90 deg at transition angle and 0 deg flat angle.


Leave a Reply