In the siemens nx assembly, exploded view command use to create an exploded view in which selected parts or subassemblies are moved apart visually.
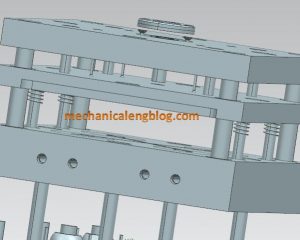
How do you create an exploded view?
I. Create a new explosion.
New explosion command creates a new explosion in the work view, in which components can be repositioned to produce an exploded view.
Where do you find it?
From the menu (top border bar): Assemblies -> exploded views -> new explosion.
From the assemblies tab: exploded view group -> new explosion.
How do you create a new explosion?
1. On the assemblies toolbar, click exploded view then click new explosion .
2. In the new explosion dialog, type a new name for the explosion, then click OK.

II. Edit an explosion
Edit explosion command use to reposition selected components in the current explosion.
Where do you find it?
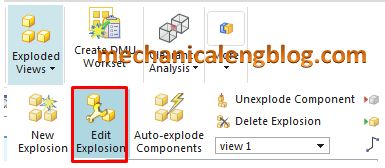
From the menu (top border bar): assemblies -> exploded view -> edit explosion.
From the assemblies tab: exploded view group -> edit explosion.
How to edit an explosion?
1. Click edit explosion icon in the exploded view group.
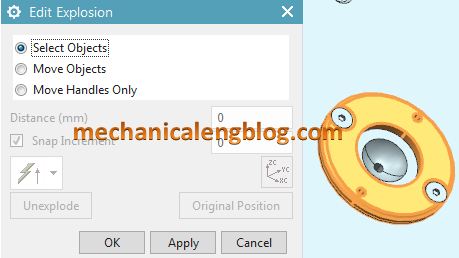
2. In the edit explosion dialog, select objects is selected. In the graphics window, select the components you want to move.
5. Select move objects in the edit explosion dialog. In the graphics window, you can move the components following ways: vector direction, or rotate around a vector.
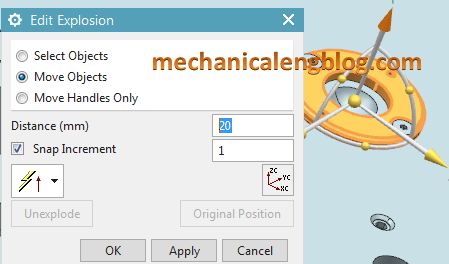
5. Type distance or angle that you want.
7. Click OK to complete.
III. Auto-explode components.
Auto-explode command use to reposition components in the explosion based on their assembly constraints.
Where do you find it?
From the menu (top border bar): assemblies -> exploded views -> auto explode components.
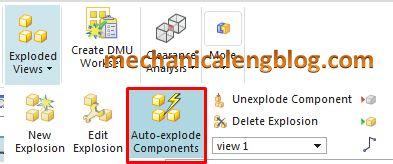
From the assemblies tab: exploded view group -> auto-explode components.
How to use auto-explode components to edit an explosion?
1. Click auto-explode components icon on the exploded view toolbar.
2. In the graphics window, select the components you want to move.
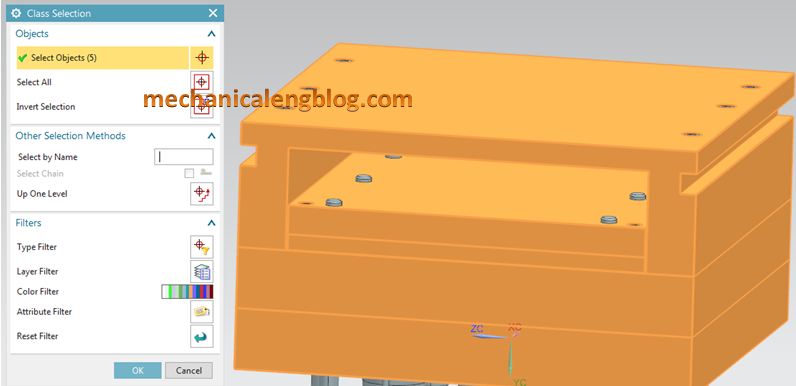
3. In the class selection dialog, click OK.
4. In the auto-explode components dialog, type the offset value in the distance box.
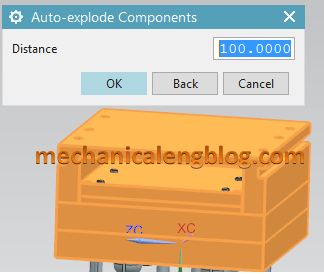
5. Click OK


Leave a Reply