In this post, I will guide to you 6 ways to get pictures from PowerPoint file. You can use MS Paint, Save As Picture tool, Snipping Tool,…to get picture from ppt.
Get pictures in an Office file is one of the common tasks when working with these types of documents. If you have read my article on how to get all pictures in a Word file, today, for those who are still wonder, I will continue to guide you on how to get all pictures in a PowerPoint file.
Currently there are many ways to do it, I would like to summarize a few ways and introduce a new way. I will guide you with Office 2016, other versions like Office 2013, 2010 or Office 2007 you can do the same.
I. Get pictures from PowerPoint _Using MS Paint.
Step 1: Open the document file you want to get picture from. Select the picture you want to get, press Ctrl + C to copy.
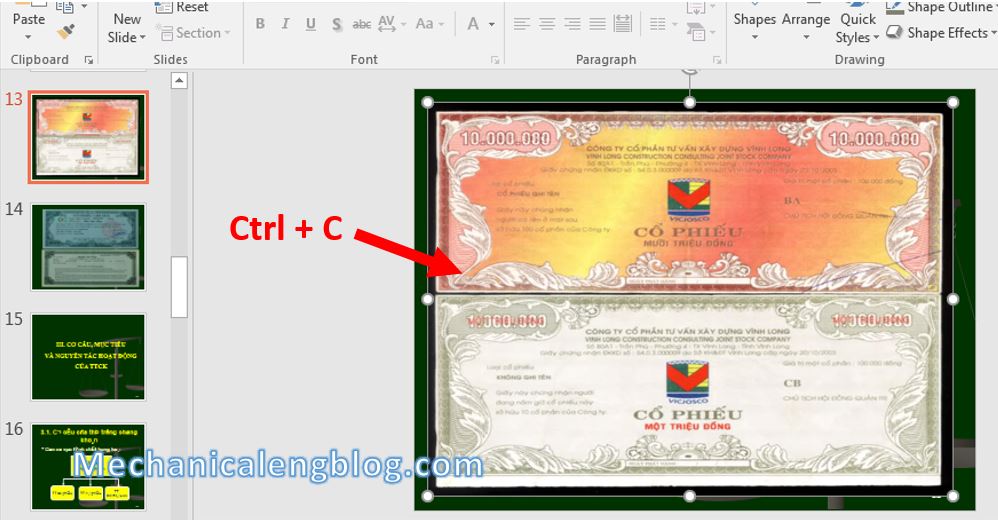
Step 2: Open Run dialog box by pressing Windows + R, find “mspaint” in the command box. Click OK to open the MS Paint program.

Step 3: The MS Paint window appears. Now you press Ctrl + V to paste the picture.
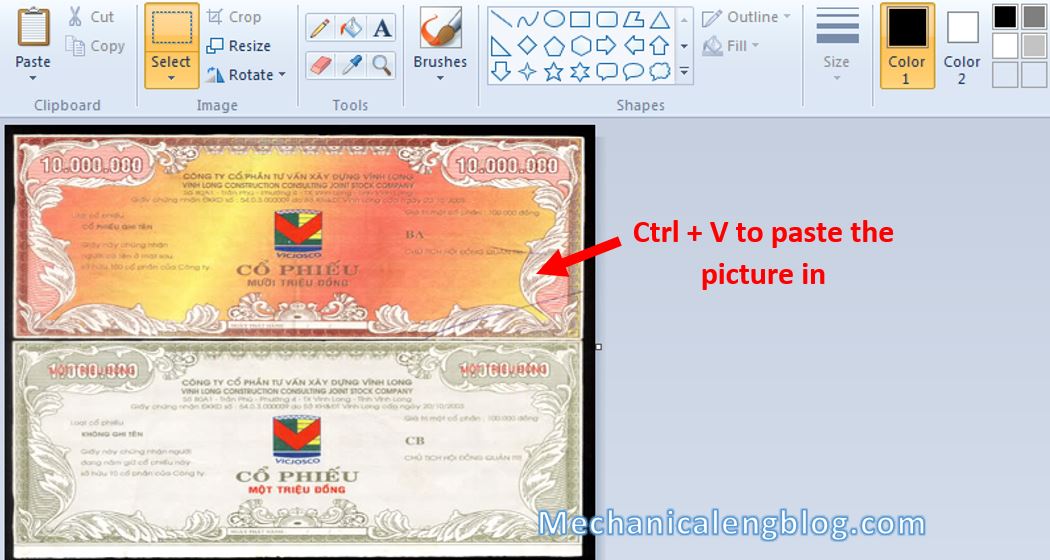
Step 4: Finally, press Ctrl + S, rename and save the picture.
II. Get pictures from PowerPoint _Use Save As Picture tool.
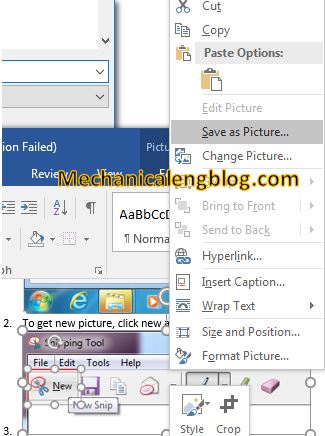
Choose the picture you want to save. Right-click at it and select Save As Picture, proceed to save as usual.
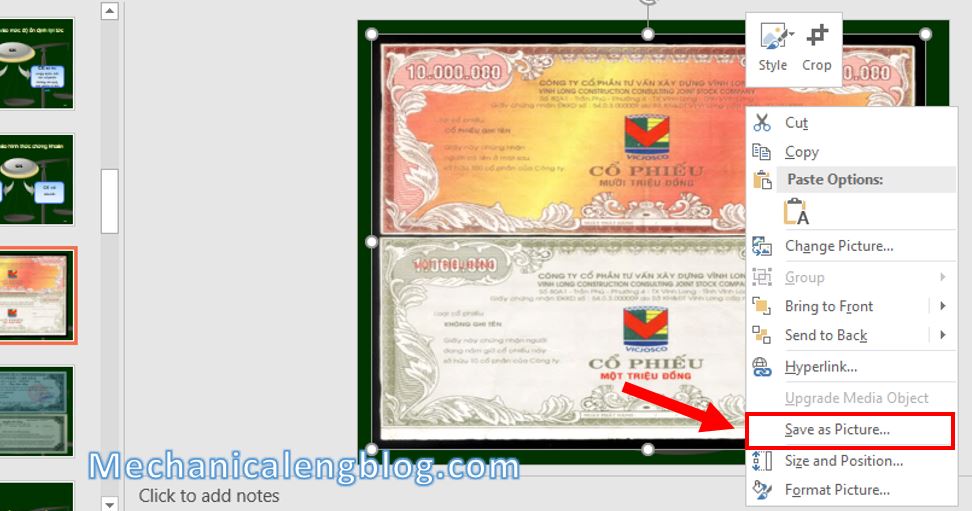
III. Using Snipping Tool.
Step 1: Open Run box (Windows + R ), enter “snipping tool” then click OK to open the Snipping Tool program.
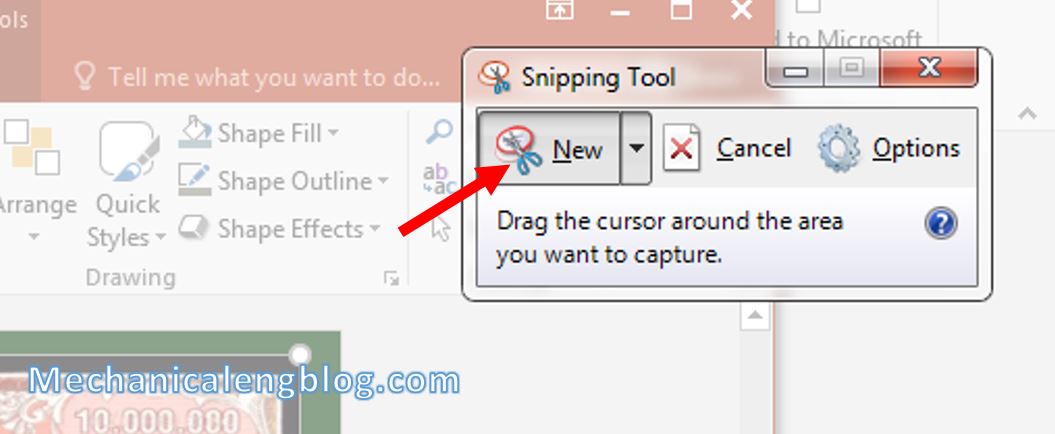
Step 2: After starting the snipping tool, select New, then drag and drop to select the picture you want to capture.
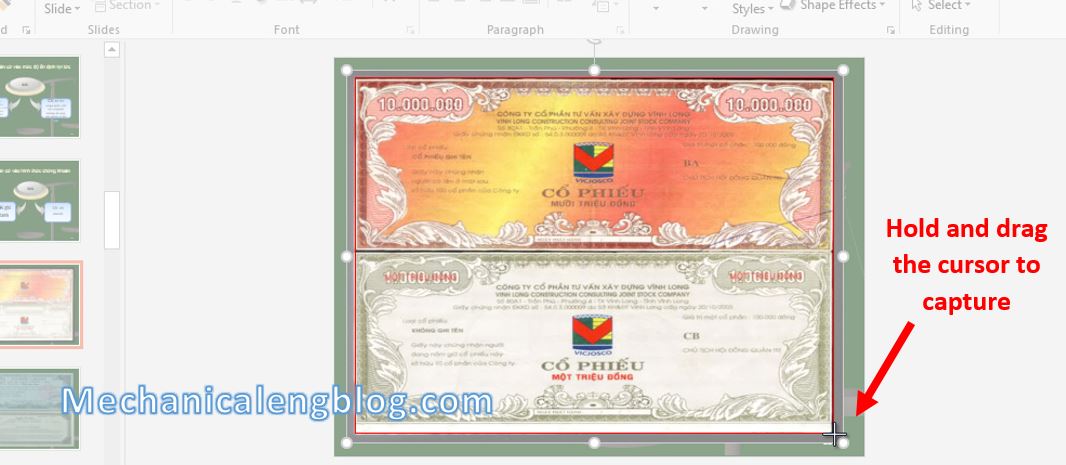
Step 3: In Snipping tool press Ctrl + S to save the picture.
IV. Get all pictures from ppt.
You can use it in case you want to get all the images in the document file to your computer.
In fact, we have already introduced a very detailed tutorial for how to do this, since the method is the same with when you want to get all pictures from Word file. You can review that article in the following link:
https://mechanicalengblog.com/how-to-get-pictures-from-word-document/
However, using this way will automatically generate a lot of smaller image files. So you have to spend time filtering and discarding automatically generated images.
V. Suggested method.
Step 1: Open the document file containing the picture you want to get. Select File, next select Save as, name the file differently with the current name, then click Save to save.
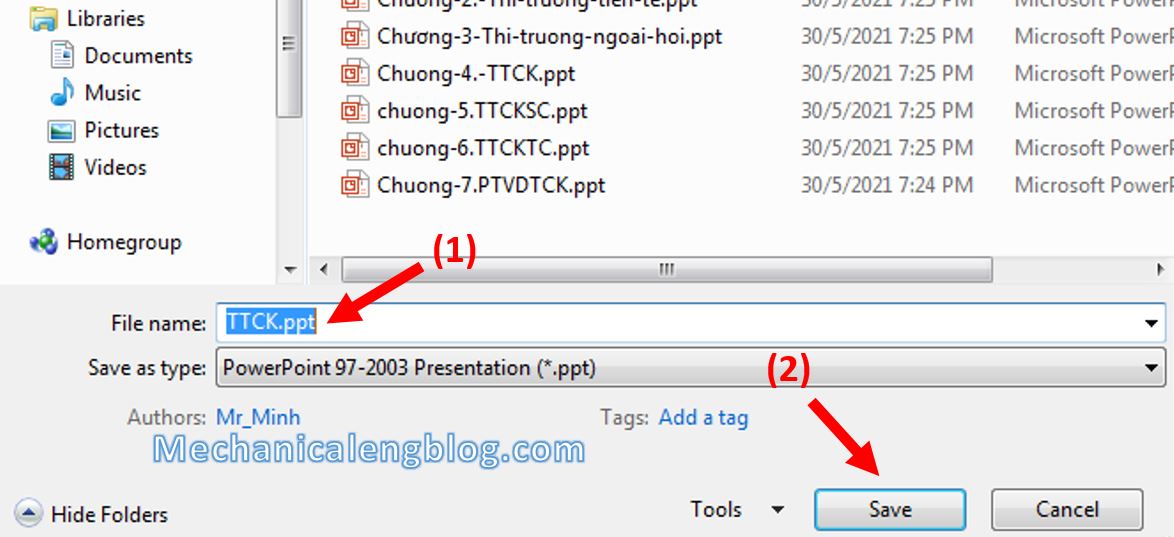
Step 2: Now right-click on the file you just saved, select Rename, then enter the extension “.zip“. Finally press Enter and select Yes to agree.
If your computer has not enabled the display of file extensions, go to Folder and search options in My Computer => Organize, go to View then uncheck Hide extensions for known file types , click OK.

Step 3: Now you only need to extract the *.zip file to get the image.

Step 4: Open the folder you just extracted, go to word folder, continue to the media folder. All the images are located here.
NOTE:
The file must be saved in the default format to work: Word Document (*docx), ExcelWordbook (*xlsx), PowerPoint Presentation (*pptx).
CONCLUSION
So, I have introduced to you the 5 simplest ways to quickly get all pictures in PowerPoint to your computer.
In my opinion, the fifth is the most convenient way, but only applies to Office files and sometimes it will be a bit complicated, prone to errors for those who are not used to it. So choose which way that works best for you.
Hopefully this article will be useful for you. Good luck.
-hhchi



Leave a Reply